0:00
Hello and welcome back to my channel where we go beyond the design to build something
0:12
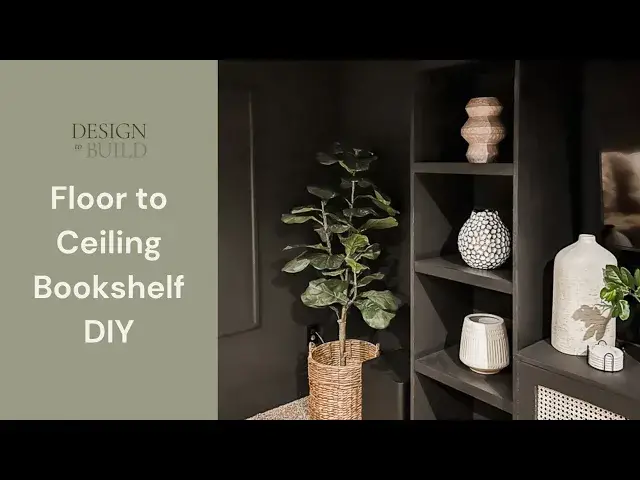
beautiful. Today I am showing my floor-to-ceiling bookshelves that I built. Just one of them
0:20
bookshelf. And super easy build. Bookshelves are one of those things that if you are new
0:25
at DIYing, it is the easiest thing that you can build for DIY. It's a great beginner's
0:32
project for DIY. All it takes is a couple sheets of plywood. I used half an inch plywood
0:40
here on these. And then you get some one-bys and that's it. That's all the wood that you
0:47
need and super easy. You can have Home Depot make your cuts for you if you don't have a
0:52
table saw or a circular saw or if those things scare you. But they will make those cuts for
0:59
you. You just give them your measurements and you're good to go. Super easy to build
1:05
and it looks amazing, especially down here in my theater room which is painted all black
1:12
And it just kind of adds some depth and some visual interest to the space and just really
1:19
elevates the space. I'll link the post for this room and how I, all the things that I
1:26
did to make this room just feel really, really nice and cozy. I'll link that below. If you
1:32
enjoy this video, be sure to hit that like button and subscribe for more great content
1:38
The very first step is to cut your side panels. Both of these get ripped to 90 and 3 quarter
1:44
inch by 16 inches. Continuing on with the cuts, we're now going to cut 5 shelves to
1:51
19 and a half inches by 15 and a quarter inch. We're now going to drill 3 quarter inch pocket
1:57
holes along each of the 15 and a quarter inch edges of each shelf. To help the project go
2:05
a lot faster and easier, we're going to cut some spacers. This will help determine where
2:10
each shelf needs to go. We'll cut 2 scrap plywood pieces at 15 inches each and 2 scrap
2:18
pieces at 4 and a quarter inches each. The width of these spacers does not matter, only
2:24
the length. Place the bottom of each 4 and a quarter inch spacer at the bottom of your
2:30
side panel, about 15 inches apart from one another. This marks the spot where your bottom
2:35
shelf will be attached. Using 1 and a quarter inch pocket hole screws, attach one side
2:41
of the shelf to the side panel. As a side note, this is your bottom shelf, so make sure
2:46
your pocket holes are facing down when you stand the shelving unit upright. Now you're
2:52
ready to attach your next shelf to the side panel. Place the 15 inch spacers above the
2:57
bottom shelf and attach the next shelf to the side panel using 1 and a quarter inch
3:03
pocket hole screws. Attach the remainder of the shelves using the spacers. Remember
3:08
to make note of where the pocket holes will be when you turn the shelving unit upright
3:14
Now you're ready to attach the other side panel. Turn the unit over and set it on top
3:18
of the other side panel. Lining it up, attach each shelf to this side panel. Be sure to
3:24
use the spacers to ensure the shelves are level. Next up, we'll add the trim pieces
3:29
to all of the shelves except the top and bottom. We'll get to those in just a second. Cut 1
3:34
by 2s to fit and attach with 1 and a half inch wood screws. Add the backer board by
3:39
cutting plywood to fit the back of the unit. Attach with tack nails or a nail gun. I find
3:45
it easiest to lay the unit down when doing this step. For the bottom trim piece, cut
3:50
a piece of plywood to fit and attach with 1 and a half inch wood screws. Use edge banding
3:56
to cover up all the raw edges. The last building step is to add the topper. The dimensions
4:02
of these pieces will be determined by where your bookshelf is going. You can use plywood
4:07
1 bys, or even crown molding for this step. As a safety precaution, be sure to attach
4:12
the unit to studs. And that's it! Now you're ready to paint your beautiful floor-to-ceiling
4:18
bookshelf. For a more detailed look at this project, be sure to check out the full tutorial
4:23
linked below. And don't forget to like and subscribe for more great content