0:00
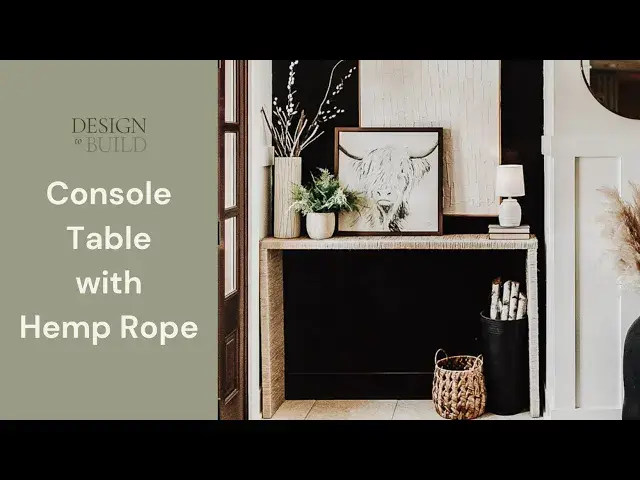
Hello, welcome back to my channel. Today I am sharing my console table that I built
0:07
and for my entryway and it's a super easy build. If you're looking for a beginner DIY this is
0:14
definitely falls in that category. It is four two by sixes and that's it. That's pretty much
0:23
all you need along with some hemp rope. So I'll kind of show you the design of it. I needed
0:29
something to fill this space in my entryway and I went back and forth on whether to put a table
0:35
or a bench in this space. I decided on this simple console table that only requires four boards
0:44
First step we're going to build the legs. We're going to cut four two by sixes at 34 and a half
0:49
inches and then we're going to drill one and a half inch pocket holes along one side of two of
0:55
the boards and one and a half inch pocket holes into one end of all four of the boards
1:02
This diagram shows a little more clearly where each of your pocket holes need to be
1:08
Using two and a half inch pocket hole screws attach the board with side pocket holes to the
1:14
board with no side pocket holes and this will be done for both sets of boards and you should
1:21
now have two legs that look like the picture here. On to the tabletop. We're going to cut two
1:30
two by sixes at 57 inches and then we're going to drill one and a half inch pocket holes along
1:35
the side of one board and then we're going to attach those two boards together using two and
1:42
a half inch pocket hole screws. Okay we have our tabletop. We have our set of legs and now we're
1:49
ready to put the table together. You can do this one of two ways. The first option is to attach the
1:57
legs to the tabletop using two and a half inch pocket hole screws and then you also want to make
2:02
sure that your table is square. So you'll notice those orange brackets and those are 90 degree
2:10
90 degree angles and you just want to make sure that those both your legs are square with the
2:16
tabletop. If you choose option one your table should now look like this. If you choose option two
2:26
which is what I chose to do you're going to wait to put your table together until after you've wrapped
2:33
the hemp cord around the tabletop and the legs. So many choices to choose from when it comes to the hemp rope. I've linked below in the description
2:45
a similar choice to the one that I used. Okay here comes the fun part. This part is just time
2:52
consuming so throw on a Netflix show that you've been wanting to watch and start wrapping. I started
3:01
with the tabletop first. To get started with your rope and ensure that it stays in place use a line of hot glue and start
3:17
wrapping on that line first. When it's all settled said and done your tabletop should look like this
3:26
And now you're ready to wrap the legs. You're going to start your rope at the end of the leg
3:31
opposite of the end with the pocket holes. You're going to follow the same steps as what you did for
3:38
the tabletop with wrapping and you're going to add a lot of a line of hot glue again. You're
3:44
going to attach the start of your rope to that line to get it going and you're going to keep
3:49
on wrapping until you get close to the pocket holes. Now you're ready to attach the leg to the
3:55
tabletop using two and a half inch pocket hole screws. Okay then you're going to wrap it the
4:01
rest of the way and cover up those pocket holes. Repeat these same steps with the other leg and
4:08
then your table is finished and it's ready for its new home and ready to be styled. I'll be
4:17
sharing more tutorials just like this in the weeks to come so be sure to subscribe so you don't miss out