0:00
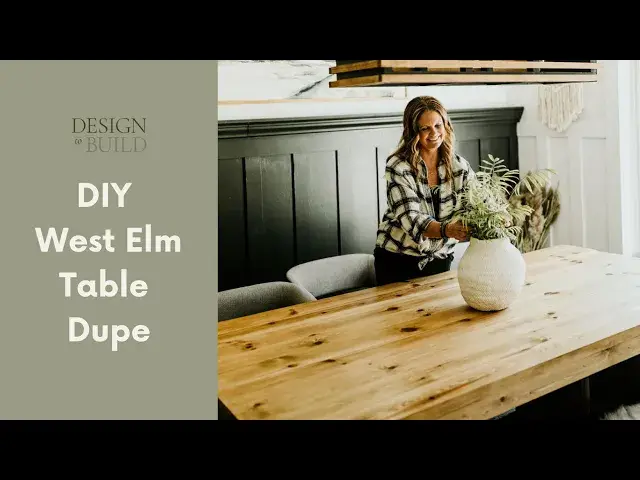
Hello and welcome back to my channel. Today I thought I would show you guys my
0:04
table that I built. It's a West Elm table and before we get started I'm gonna clean up this
0:11
mess. Right now it's my makeshift office space because I'm in the process of redoing a bedroom
0:18
upstairs that I have been using for my office. I'm going to actually make it someplace that I
0:23
want to hang out and not just a room that is a makeshift office. So for the time being my office
0:30
is in the dining room. Not ideal but it's where we're at right now. So let me clean this up real
0:36
quick and then I'll show you guys the table. Here's a look at it without the bench. I did
0:45
build this bench to match it so I'll be sharing that in a future tutorial. Here's a look at the
0:52
underside of the table and I love the legs just the chunkiness of them. Such a solid piece
1:04
Let's get on to the tutorial. It's actually quite a simple build. Be sure to check out this
1:10
description below for all of the materials, wood, and tools you'll need for this project
1:17
We're going to start by building our tabletop first. We're going to cut nine two by sixes to
1:22
84 inches each and then we're going to drill two and a half inch pocket holes down the length of
1:28
each two by six. And we're going to then attach those boards together using two and a half inch
1:34
pocket hole screws. Now it's a good idea to use clamps to hold your boards together as you're
1:41
screwing in the pocket hole screws. When finished the underside of your table will look like this
1:48
and you'll notice that there are no pocket holes drilled in the last board. This is because it
1:53
will not be attached to another board so there's no reason to drill pocket holes in the last board
2:01
For our next step we're ready to build the legs. We're going to cut eight two by fours to 25 and a
2:06
half inches and eight two by fours to 16 inches so you'll have a total of 16 two by fours cut
2:13
You're going to drill one and a half inch pocket holes on each end of the 25 and a half inch boards
2:20
Attach your 25 and a half inch board to your 16 inch board using two and a half inch pocket
2:25
hole screws and it should now look like this. Attach another 25 and a half inch board to the
2:32
other end of the 16 inch board using two and a half inch pocket hole screws and now it should
2:37
look like this. Complete the rectangle by attaching another 16 inch board making sure everything is
2:44
square. Repeat with the remaining boards. You'll have four rectangles when you're finished. These
2:50
will be the table's legs. For our next step we're going to build the supports. These are the boards
2:56
connecting the legs and providing support for the tabletop. Cut four two by fours to 54 inches
3:02
then drill one and a half inch pocket holes in both ends of each board and three pocket hole
3:08
groupings spaced out along one side of each board. Attach supports to legs using two and a half inch
3:16
pocket hole screws. Take note when attaching the supports the pocket holes should look like the
3:25
A arrows and not the B arrows. This is important because you will be using these pocket holes when
3:32
attaching the tabletop so you want to make sure they're facing in the right direction to be able
3:37
to attach the tabletop. You're now ready to wrap the legs with plywood. You'll want to wrap the
3:45
outside legs and side legs first. Do this by cutting your plywood to fit and screwing it on
3:51
the two by four legs with one and a half inch wood screws. Repeat this with each leg. Note before
3:58
wrapping the inside of the legs we're going to first attach the stretcher. For the stretcher
4:04
we're going to cut one two by four to 58 inches. We're then going to slide the stretcher between
4:10
the legs of the table and a portion of the stretcher will be sticking out on both ends
4:15
Make sure this is an even amount because you'll be working against gravity here. It helps to prop
4:22
up the stretcher with a two by four. Once the stretcher is propped up and in place you're ready
4:29
to attach it using two and a half inch wood screws. Drill through your plywood. Do this on both sides
4:35
of the stretcher and at the other end of the stretcher too. Once the stretcher is attached
4:41
you're ready to finish wrapping the legs. Now you're ready to attach the tabletop to the legs
4:48
Place the tabletop on top of the legs and center. If you want more guidance on how to center the
4:53
tabletop with the legs be sure to check out my blog post in the description below. Once the
5:00
tabletop is centered on the legs attach the top from underneath. This is where those pocket holes
5:06
along the sides of your supports come into play. Attach using two and a half inch pocket hole
5:11
screws. This slide shows the underneath view of the table. We're getting close but not finished
5:18
yet. Next we need to attach the apron. We're going to cut the apron to fit the length of the table
5:24
on both sides. We're going to then drill five sets of two and a half inch pocket holes evenly spaced
5:31
along one side of each apron. Clamp the apron to the underside of the table with pocket holes
5:39
facing up and towards the inside of the table. Attach to the underside of the table using two
5:46
and a half inch pocket hole screws. Once the side apron boards are attached cut the end apron boards
5:53
to fit and repeat the apron steps. All said and done the apron will look like this
6:02
And that's it! You're ready to sand and stain or paint your table. For a full sanding tutorial
6:10
be sure to check out my blog post in the description below. Building a beautiful dining
6:15
table isn't as hard as you might think. Just follow these simple plans and you'll have a
6:19
modern style west elm table dupe in no time. If you found this tutorial to be helpful be sure to
6:27
like and subscribe for more great content