Up next in 10


How to use an angle finder when making angle cuts in woodworking DIY Projects.
Show More Show Less View Video Transcript
0:00
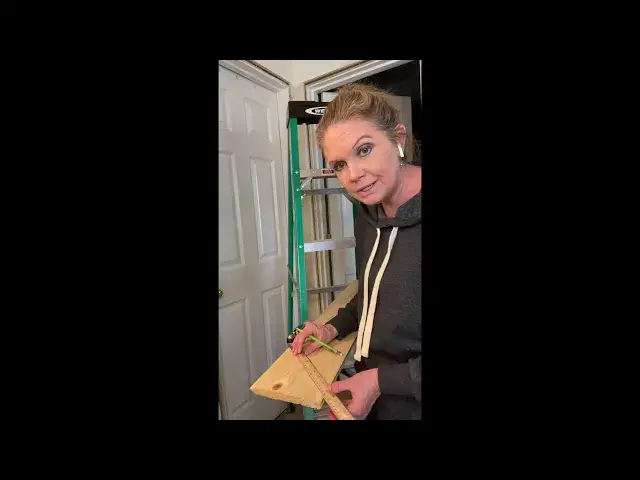
I'm going to show you how to use this T-bevel angle finder
0:07
First of all, we loosen this thing a little too much. Okay, so we loosen that
0:14
Then we loosen that up. Now that will move, okay? And again, as it moves, the numbers, oh, it's got to be turned on, the numbers change, okay
0:29
So what I'm going to do is I'm going to go up here and I'm going to find my angle
0:33
So I'm going to hold this up here. I'm going to put this part against the wall and this part against here, okay
0:42
So it's just flush with both the wall and my board, okay
0:50
So now I've got my angle and I can tighten my circle, okay
0:59
So now I have my angle. I'm going to put my angle finder here on the edge of my board and I want to make sure that
1:08
I'm going to have plenty of room to get to the end of my board
1:13
So I don't want it over too far because then I'll be going off and I won't have the right
1:17
that won't be the right cut. I need to make sure that I'm ending at the edge of my board
1:23
So I'm going to line my other ruler up just to make sure that I'm good on my length and
1:31
I'm going to draw my line from here all the way up and that will be my first cut
1:38
And what I learned is make your first cut, then worry about the other side
1:44
Make this cut first, make sure it fits, and then go back and worry about that side
1:48
All right, so now I am ready to go use my jigsaw and make this cut
Crafts
Home Improvement
Construction & Power Tools
People & Society