

A Kreg Jig is a popular tool in woodworking for creating strong joints easily and efficiently. This guide will walk you through everything you need to know about how to use a Kreg Jig. From understanding pocket holes to mastering the device.

Sharing another one of my favorite gadgets to make your DIY life a little easier!
How to Use a Kreg Jig
What tool do I use more than any other tool when building furniture? Hands down–my Kreg Jig! I don’t know what I would do without this awesome tool….
Amazon Affiliate Links Included
What Are Pocket Holes?
So, what exactly is this gadget used for? Making pocket holes! And why is this important? Let’s break it down!
Pocket hole joinery is a woodworking technique where you drill angled holes, called pocket holes, into a piece of wood.
These holes let you connect two pieces of wood using special pocket hole screws.
This method creates strong, secure joints and is great for building furniture, cabinets, and other DIY projects.

The magic of pocket holes is in their design. The angled holes make sure the screws pull the wood pieces together tightly. This creates strong joints that can handle a lot of weight and stress.
Making pocket hole joinery is perfect for projects where durability is key. Like building tables or sturdy shelves.
One of the best things about pocket holes is how easy they are to use. Unlike other methods that need complex cuts and measurements, pocket holes are quick and simple to make with the right tools.
This makes them perfect for beginners, yet they still provide the precision needed for advanced projects.
What is a Kreg Jig?
As a woodworker, I love using my Kreg pocket hole jig. This special tool, made by the Kreg tool company, makes pocket hole joinery super easy and precise.
With my Kreg Jig, I can quickly drill pocket holes at just the right angle, ensuring that my joints are strong and reliable for any woodworking project.
One thing I really appreciate about Kreg tools is their quality and durability. (Not a sponsored post-haha! But it truly is so good)
My Kreg Jig has adjustable settings, so I can customize the depth and angle of the pocket holes depending on the thickness of the wood I’m working with.

These Kreg jig settings make it perfect for all kinds of projects, whether I’m crafting small DIY items or building large pieces of furniture.
The Kreg Company has several different products to choose from. You’re sure to find one that fits your needs and budget perfectly.
Whether you’re a beginner or an experienced woodworker, there’s a Kreg Jig for you.
They’re designed to be user-friendly, so even if it’s your first time using one, you’ll easily be able to create professional-quality joints.
I would be lost in my workshop without one. It is my go-to tool in almost every project.
Breaking Down the Parts of a Kreg Jig
Understanding the parts of a Kreg Jig is very helpful when working on your DIY project.
Let’s take a look at all of the key components:
Jig Base
The jig base is the foundation of your Kreg Jig. It holds everything in place and provides stability while you work.
A sturdy base ensures that your drilling is accurate and your joints are reliable.

Drill Guide
The drill guide is a crucial part of the Kreg Jig. It ensures that your drill bit stays at the correct angle as you create your pocket holes.
This helps maintain precision and consistency in your projects.

Stop Collar
The stop collar is used to set the depth of your drill bit. By adjusting the stop collar, you can control how deep your pocket holes go.
This is important for making sure your screws are properly seated and your joints are strong.

Depth Collar
Similar to the stop collar, the depth collar helps you control the drilling depth. It works in conjunction with the drill guide to ensure your pocket holes are consistent, which is key for strong and secure joints.

Material Support Wings
The material support wings are additional supports that help stabilize larger pieces of wood as you drill.
They attach to the jig base and provide extra support, making it easier to handle big projects without losing accuracy.
Knowing these parts and how they work together can make a big difference in the quality of your woodworking projects.
How to Use a Kreg Jig
Using a Kreg Jig is simple if you follow these steps. Here’s a breakdown using the key terms we discussed above:
Step 1: Measure Material Thickness
Measure the thickness of the board using a measuring tape. Refer to the material thickness gauge to determine the settings of the stop collar and the depth collar. We’ll adjust these settings in the next step.

Step 2: Adjust the Stop Collar and Depth Collar
Use the stop collar (also known as the drill bit collar) to set the depth of your drill bit. Slide it along the drill bit and tighten it at the correct position based on your material thickness.
Set the depth collar to the correct measurement as specified in the material thickness guide. This will ensure the correct depth for your pocket holes.
PRO TIP: The depth collar (also called the Kreg Jig Setting) will be set at the same number as the material thickness.

Step 3: Set Up Your Drill
Attach the pocket hole drill bit to your drill. Adjust the drill settings according to the thickness of your material. This ensures you drill at the right speed and depth.
For a thick piece of wood, I find it easiest to crank my drill speed up to 20 or more. For thinner pieces of wood, 12 to 15 usually works well.
Step 4: Clamp Your Material
Place your wood into the jig and clamp it tightly. Use the jig’s adjustable clamp pressure to make sure the material doesn’t move while drilling.

Step 5: Drill the Pocket Holes
Use the drill and bit to create the guide holes. Drill until the stop collar hits the jig, ensuring consistent depth for each hole.

Step 6: Choose the Correct Screws
Pick screws with the correct screw length for your material’s thickness. This is also stated in your material thickness guide.
For softwoods, use coarse thread screws; for hardwoods, use fine thread screws.

Step 7: Drill Pilot Holes (Optional)
If working with very hard wood, consider drilling a pilot hole before driving the screws. This can prevent the wood from splitting.
Step 8: Assemble Your Pieces
Now you’re ready for the good stuff…assembling the project pieces. Align the two pieces of wood and drive the screws into the pocket holes using a driver bit. The screws will pull the pieces together, creating a strong joint.
By following these steps, you can use your Kreg Jig to create precise, strong joints for any woodworking project.

Tips for Success
To get the best results from your Kreg Jig, it’s important to follow some key tips. These simple steps will help ensure your joints are strong and precise.
Ensure the Work Surface is Flat
Make sure your work surface is flat and stable. A flat surface prevents the wood from moving while you drill, leading to more precise and strong joints.
This stability is key to getting the best results.
Double Check Your Jig Settings
I can’t recommend this one enough. I have had to scrap one too many boards not following this advice. You’ve probably heard of the saying: measure twice, cut once. The same applies here: check your settings twice, drill once.
Use Wood Glue for Extra Strength

Want to make these outdoor chairs? Here’s the Link!!
Benefits of Using a Kreg Jig
Using a Kreg pocket-hole jig has many benefits that make it a must-have tool for any woodworker.
Easy Way to Create Strong Joints
A Kreg Jig provides an easy way to create strong joints. The angled pocket holes and special screws ensure your building projects are durable and sturdy.
Suitable for Both Small and Larger Projects
Whether you’re working on small crafts or larger projects like furniture, the Kreg Jig is suitable for all sizes.
Versatile for Different Thicknesses of Wood
The Kreg Jig is versatile and can be adjusted for different thicknesses of wood. This makes it ideal for various types of woodworking tasks, ensuring precise and consistent results every time.
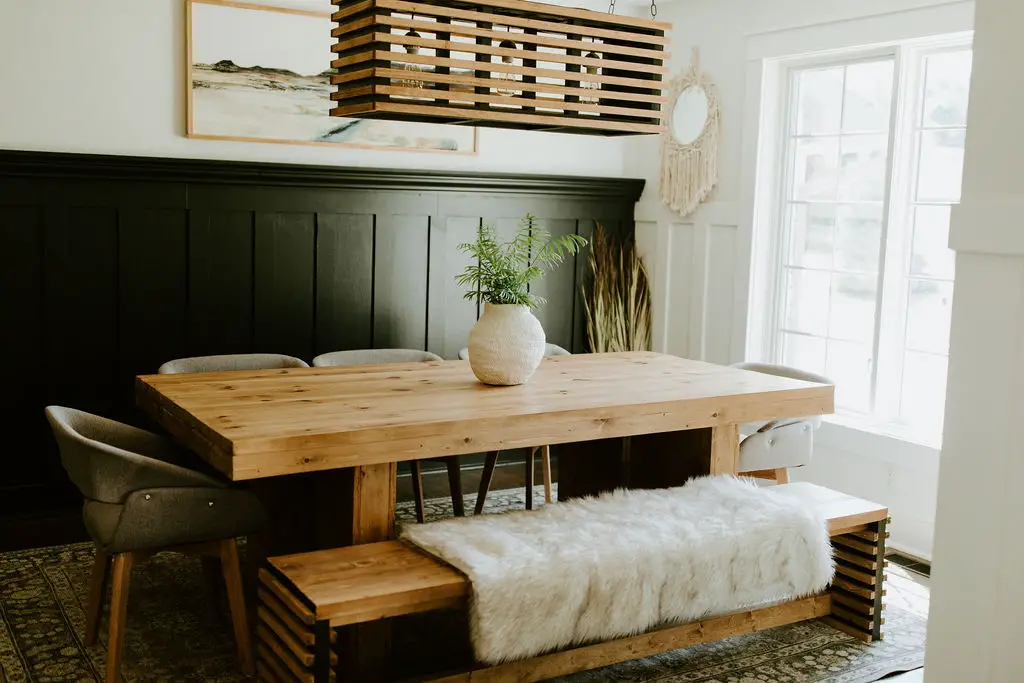
Want to build this West Elm Table Dupe? Here’s the Link!!
User-Friendly for All Skill Levels
The Kreg Jig is designed to be user-friendly, making it perfect for first-time users and experienced woodworkers alike.
Its simple setup and easy-to-follow instructions make building projects straightforward and enjoyable.
I hope this post has been helpful in showing you how to use a kreg jig. Whether you’ve been woodworking for a long time or are just starting on your first DIY project, a Kreg Jig is a must-have.
It is my favorite tool in my shop. I use it all of the time!
Let’s go beyond the design to build something beautiful together!
Designer Tip: When It Might Be Time to Bring in Help
If you’re working on your home and things still don’t feel quite right, you’re not alone. Many of our clients start exactly where you are now. They’ve gathered ideas, saved inspiration photos, and maybe even purchased a few pieces, but the space still doesn’t feel cohesive. That’s often the moment when having a designer can make all the difference. We help homeowners create a clear plan so every decision works together. From layout and furniture placement to finishes and lighting, the goal is a space that feels thoughtful, comfortable, and complete.
If you’d like a little guidance with your space, you can learn more about our interior design services below.
Explore Interior Design Services
Planning a kitchen, living room, or full home project? Start with a quick discovery call to see if we’re a good fit.
Until next week,
Happy Building, Friend!!
Don’t forget to join my VIP List below for many more great tutorials.
Hop over to Instagram to see all of the D2B behind the scenes. What am I working on now?….come check it out!
More Great D2B Posts:
How to Sand Wood for a Smooth Finish
Design Ideas for Stairs and Railing Trends
The Right Way to Hang Curtains


0 Comments