

See just how simple it is to build a coffee table. Follow my step-by-step tutorial and build this easy DIY coffee table.
It’s a tradition I started when my first nephew got married…building them a piece of furniture of their choice.
So, when my 2nd oldest son got married this past summer, I, of course, offered up the same gift to him and his new bride. Their furniture piece of choice? A coffee table and side table to match.

As I like to do with all of my builds, I had them send me some inspiration pictures. Going from those pictures, we talked about what they liked and didn’t like, and I went from there.
Today, I’m sharing how I built this new coffee table for their new home together. It’s a very simple build. So let’s dive into the free plans.
How to Build an Easy DIY Coffee Table
(Instructions are based on a 40 inch long x 19.5″ wide; 18″ tall coffee table) If building a different size, be sure to adjust measurements accordingly).
Wood Needed for Modern Coffee Table:
- 5- 2x6x8 Pine boards
Materials Needed for DIY Coffee Table Plan:
- 2 1/2″ Pocket hole screws
- 2 1/2″ Wood screws
- Tape measure
- Sanding pads
- Wood filler
- Stain or paint
- Poly
Here’s a list of the products I used:
- MinWax Puritan Pine Stain
- Tricorn Black Paint
- Satin Polyurethane (For the base)
- General Finishes Polyurethane (Satin) (For the top)
Note: General Finishes Poly is a little more expensive, but provides a super strong protection. I highly recommend it for the table top, since that is the part of the table that will see the most wear and tear.
Power Tools Needed for Coffee Table:
Affiliate Links Included
NOTE: If you’ve never used a Kreg Jig, here’s a great tutorial. If you don’t have one, I highly recommend buying one. You will use it all the time in the DIY realm! And it makes builds so much easier!

Step One: Rip your boards
I like to get rid of the manufactured edge on all of my 2x’s before starting any project. This is very easy, but does require a table saw (or a circular saw will work too).
I’ll share the widths I take them to and then explain how I do this…
- For the top of the table, rip two 2×6’s to 4 7/8″ wide. (2×6’s are actually 5 1/2″ wide).
- For the legs & stretcher, rip one 2×6 to 3 1/2″ wide.
- For the bottom shelf, rip two 2×6’s to 3 3/8″ wide.
Now for How I Do This: (Here’s a great post on how I give my boards a finished look)
- I’ll use the table top boards for my example…
- As noted above, I want my 2×6 table top boards to be 4 7/8″ wide. They are originally 5 1/2″ wide.
- I simply set my table saw for 5 1/4″ and rip one side of my 2×6.
- Then I set my table saw to 4 7/8″, flip my board over and rip that side of my board.
- Now I have a 4 7/8″ board with straight edges on both sides.
- Follow these same steps for your other boards, to get rid of that manufactured curved edge and achieve a straight edge look.
If you need more instruction, check out this post.
Step Two: Build Tabletop
Cut four 2×6’s (now ripped to 4 7/8″; as shown in step 1) at 40 inches each.

Drill 1 1/2″ pocket holes down the length of three of these 2×6’s.
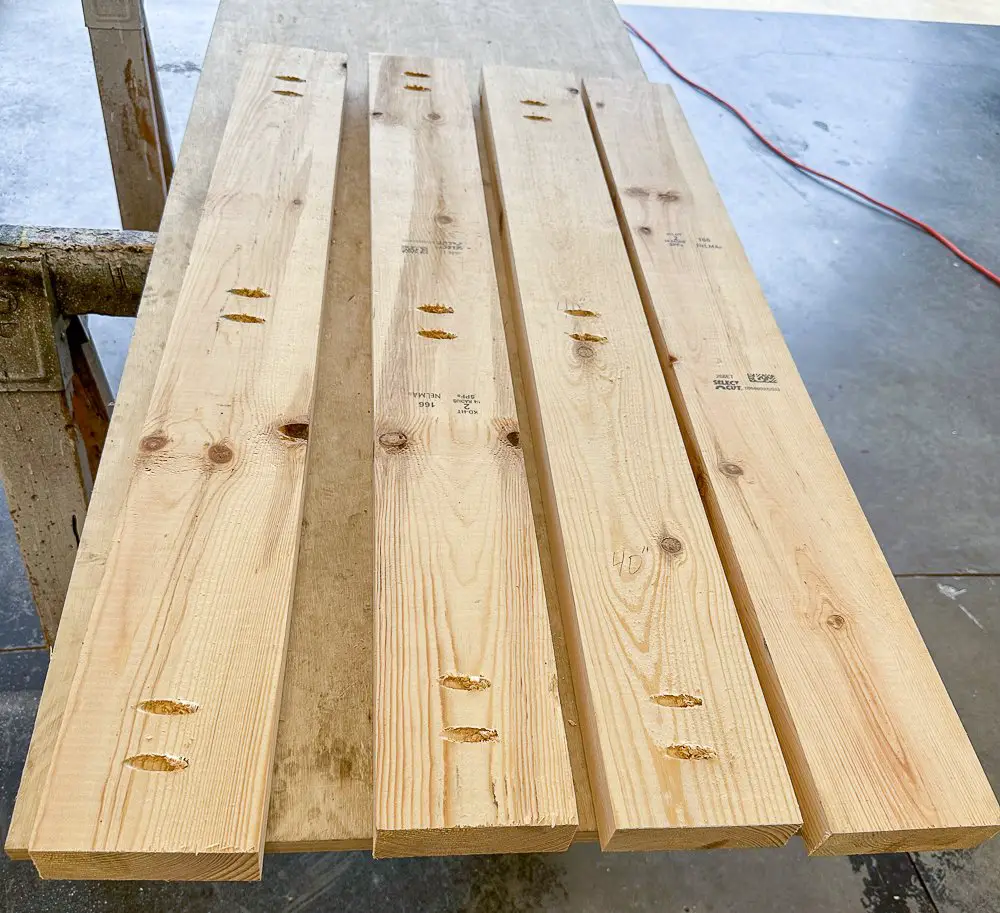
Attach the boards together using 2 1/2″ pocket hole screws.
I like to use large clamps to hold my boards in place when screwing them together.
Fun fact: The clamp in the picture below was my grandpa’s. He was an amazing carpenter. He bought 4 of these clamps for $8.77. (I know this because, a couple of them still have the price tag on them). Wow!! I now have the privilege of owning all 4 of them. I cherish all of the tools he passed down to me. But these are my favorite! I use them all the time.
They still make these bar clamps today, but they are not cheap!! So, here’s a more affordable option, that works great too!

When finished, the underside of your table will look like this…

And the top of your table will look like this…

Step Three: Sand the Tabletop
Oftentimes, I like to sand my furniture builds as I go. Doing this, makes it much easier to sand the entire piece really well.
When sanding after the piece is all put together, you sometimes have to work really hard to get deep in the crevices.
So, although it’s not always fun to stop the building process and jump into the dreaded sanding, it does make the entire project much easier.

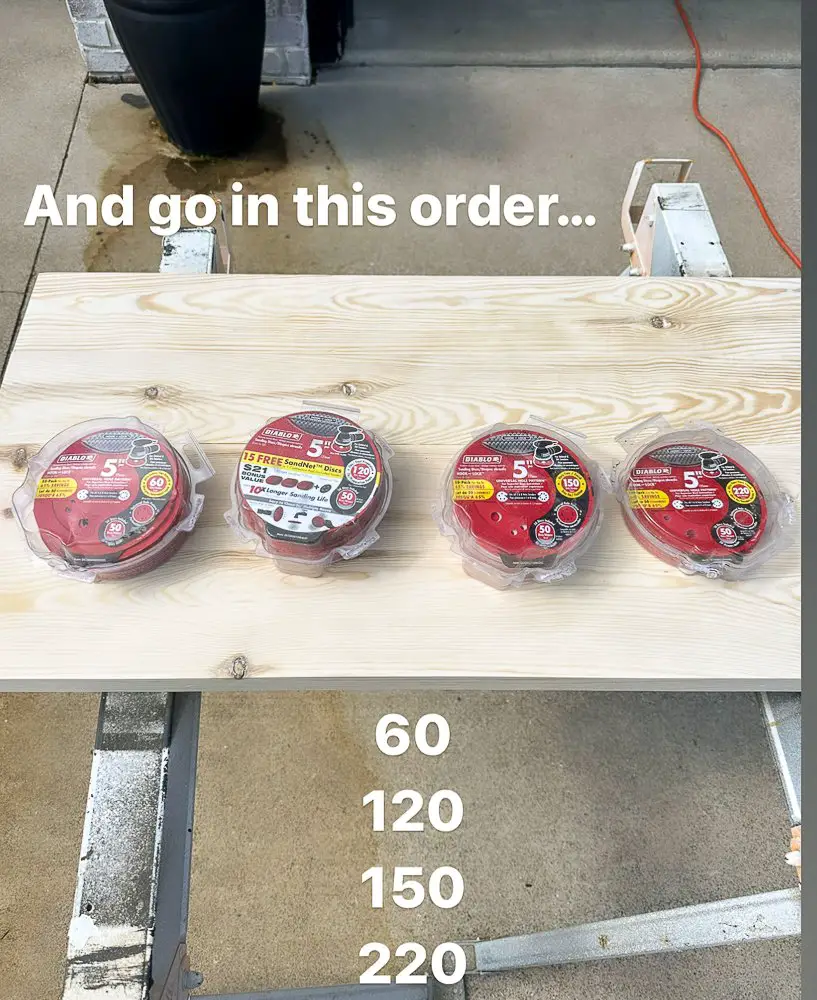
Therefore, for my next step, I sanded the table top. Here’s the order of sandpaper grit I like to go in for my table tops:
- 60
- 120
- 150
- 220
Stick with this order and you’re sure to have a smooth finish.
Here’s a full tutorial on how to get the best finish on any furniture build DIY project.
Step Four: Build the Table Legs
Cut four 2×6’s (now ripped to 3 1/2″; as shown in step 1) at 16 inches each.
Drill 1 1/2″ pocket holes on one end of each board…
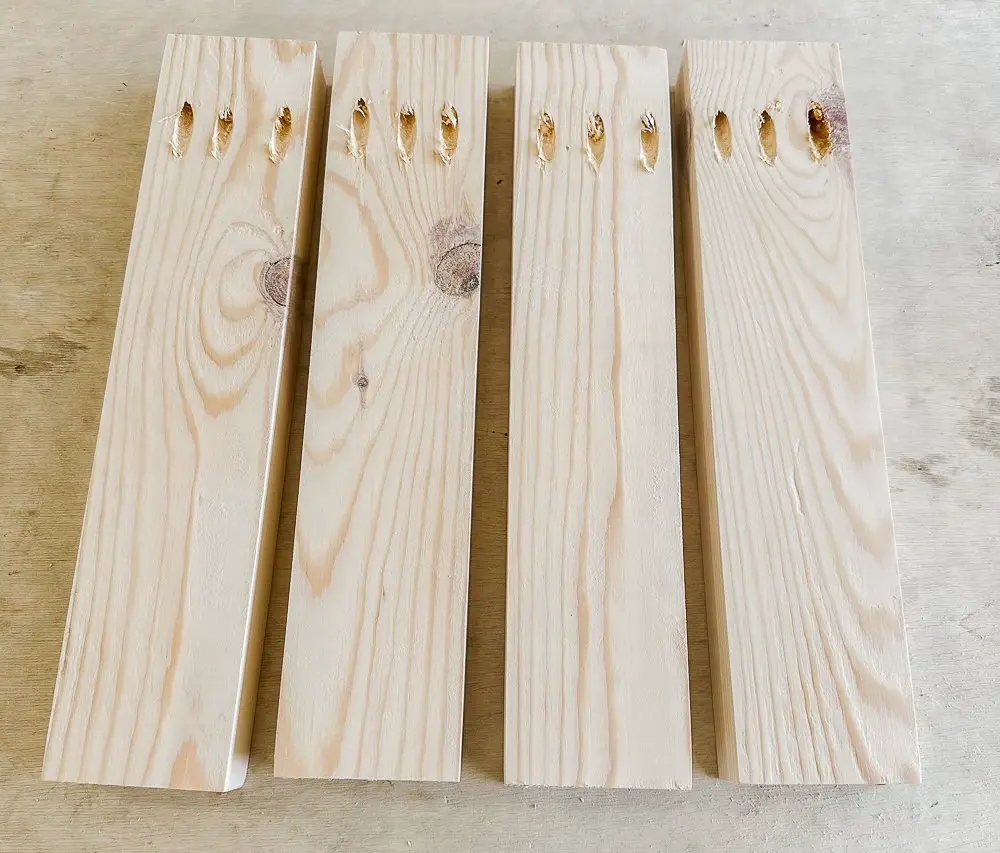
Sand the legs with 60 and 220-grit sandpaper.
Note: I only use the 4 different grit sandpaper process (shown in step 3) for my table tops. You can use this process for the rest of your furniture piece, if you would like. However, I don’t feel it’s really necessary. The table top is where you will be touching the furniture piece the most, so it’s important to have it nice and smooth. In addition, the 4 different grit sandpaper process is important on the table top to avoid swirlies. (Learn more about those annoying, hard to get rid of eye sores, in this post).
Inset the legs:
1 1/2″ in from the long end of the table top…

And 4″ in from the short sides of the table top…

Attach using 2 1/2″ pocket hole screws.

Step Five: Attach the Stretcher
Cut two 2×6’s (now ripped to 3 1/2″; as shown in step 1) at 13 1/2 ” each.
Place each stretcher between the legs of the coffee table.
Attach using 2 1/2″ wood screws from the outside…

Your table should now look like this…

Step Six: Build the Bottom Shelf
Cut four 2×6’s (now ripped to 3 3/8″; as shown in step 1) at 40″ each.
Drill 1 1/2″ pocket holes down the long side of three of the four boards.
Attach the 4 boards together using 2 1/2″ pocket hole screws.
Place a scrap 2×6 across the legs of the table. This will provide the spacing needed for your bottom shelf.
Slide the bottom shelf between the legs of the table (across the 2×6). As shown below…

Note: Use a mallet to tap the bottom shelf into place, as this can be a tight fit.
Attach the bottom shelf to the legs using 2 1/2″ wood screws. Remove the scrap 2×6…

Your coffee table should now look like this..

Step Seven: Ready for the Finishing Touches
You’re now ready for all of the finishing touches. Fill all of the nail holes with wood filler. And sand the piece once again with 220-grit sandpaper.
Paint or stain with the color of your choice.
My son and his wife wanted a two-tone look. So, I stained the top with Puritan Pine and painted the bottom with a Satin Tricorn Black.
Apply 2-3 coats of strong poly to the top of your coffee table. I like to use this super-strong protective finish poly.
Apply 1-2 coats of regular poly to the rest of the table.

And that’s it! Your easy DIY coffee table is now ready for your living room or whatever living space you’ve chosen for it to call home.
This perfect coffee table looks great in Chase and Jensen’s new living room…

DIY Coffee Table Ideas
I feel like this stain/paint combo lends itself to more of a rustic look. However, if you’re wanting a more modern coffee table, painting it one solid color would be a great option.
If you’re wanting a more natural look, consider using a clear stain such as, Natural Classic or Hazelwood Classic. Both are great options from Varathane.
The style of this coffee table is really dependent upon the finish you choose:
- For a farmhouse style, consider using a gray interior stain finish. Such as Weathered Gray or Gray Classic.
- If you’re wanting a more rustic coffee table, consider Dark Walnut stain for the top and black legs with sanded edges for the bottom.
- Or for a modern style coffee table, paint it all one solid color, such as black or a beautiful taupe color.
With the total cost of this gorgeous coffee table coming in at less than $75, it really is a great DIY project at a very easy skill level.
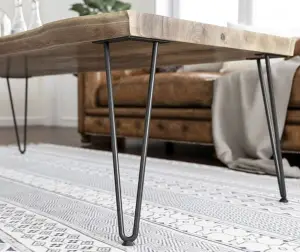
Don’t want to make your own legs? These beautiful hairpin legs would be a great replacement for this beautiful coffee table. Keep in mind, this would, of course, eliminate the bottom shelf as well…
I hope these easy-to-follow coffee table plans have inspired you to make your own coffee table. Look for the plans to the matching end table coming next month.
FAQ’s Easy DIY Coffee Table
Can this coffee table design be adapted for outdoor use?
Yes! Simply change the poly to outdoor poly and your table can be used outdoors. It is a good idea to cover it with a plastic tarp in the winter months.
We use a large plastic tarp on our outdoor wooden dining table I built a few years ago and it has held up well. There’s no need to use pressure treated wood, if you give the entire piece of furniture 3-4 coats of good quality outdoor protective finish (poly).
What types of wood, besides pine, can I use for my coffee table?
Explore alternative woods like oak, maple, or reclaimed wood for different aesthetics and durability.
When considering building your own DIY coffee table, think outside the box. Consider using wood planks from a wooden pallet or old wooden boards from an old barn. A great way to add character.
What are some alternative options for legs for my coffee table?
Amazon Affiliate Links Included

Designer Tip: When It Might Be Time to Bring in Help
If you’re working on your home and things still don’t feel quite right, you’re not alone. Many of our clients start exactly where you are now. They’ve gathered ideas, saved inspiration photos, and maybe even purchased a few pieces, but the space still doesn’t feel cohesive. That’s often the moment when having a designer can make all the difference. We help homeowners create a clear plan so every decision works together. From layout and furniture placement to finishes and lighting, the goal is a space that feels thoughtful, comfortable, and complete.
If you’d like a little guidance with your space, you can learn more about our interior design services below.
Explore Interior Design Services
Planning a kitchen, living room, or full home project? Start with a quick discovery call to see if we’re a good fit.
Let’s go beyond the design to build something beautiful together!
Until next week,
Happy Building, Friend!!
Don’t forget to join my VIP List below for many more great tutorials.
Hop over to Instagram to see all of the D2B behind the scenes. What am I working on now?….come check it out!
More Great D2B Table Posts:
How to Build a Modern Coffee Table
Easy DIY McGee & Co. Coffee Table Dupe
How to Make a Pallet Coffee Table
0 Comments