

Are you ready to tackle some DIY projects but you’re just not sure what tools to use? Whether building a bookshelf or adding trim to a newly renovated living space, having the right tools makes all the difference. These 8 tools are essential for most woodworking projects.
8 Tools Needed for DIY Woodworking Projects
1 | Measuring Devices
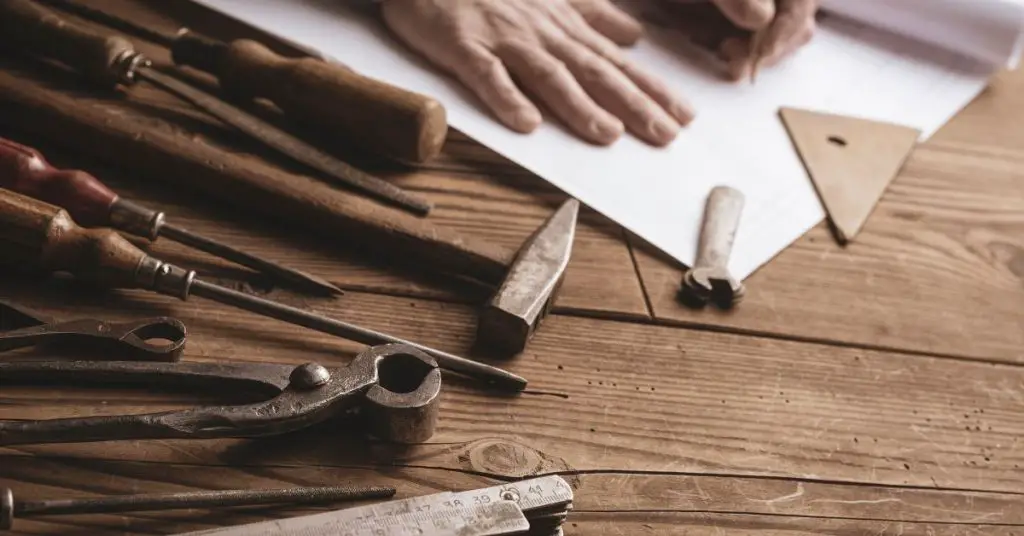
Before cutting begins, you need a measuring tool for precise lengths and widths! A good tape measure, a carpenter’s square, and a pencil and notepad ensure the dimensions and angles are accurate.
2 | Saws
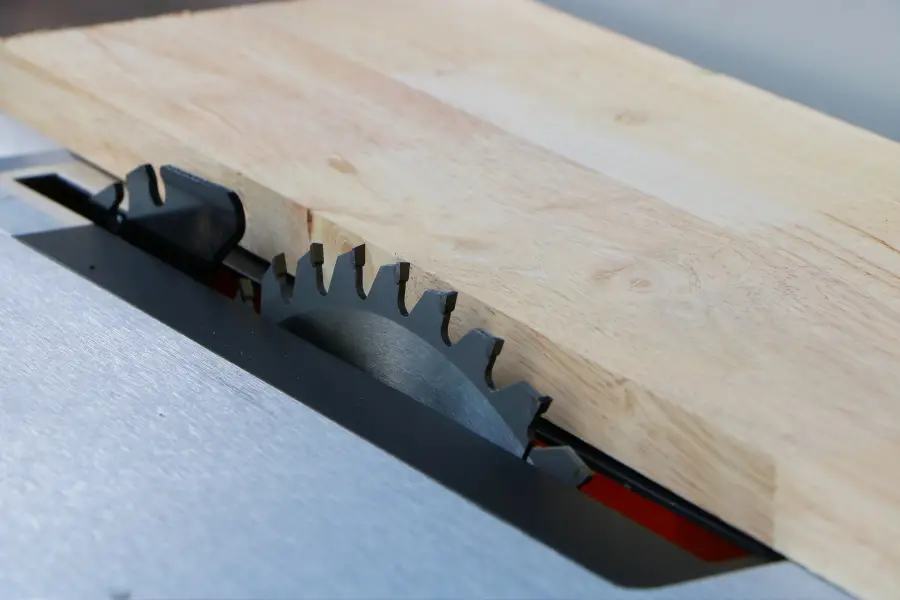
Of course, you’re going to need a saw to cut hard materials, such as lumber, into usable pieces. A circular saw will be good for straight cuts, while a jigsaw curves your designs. If you need intricate detailing, use a coping saw. Each one cuts differently, so ensure you know what shape you need before buying.
3 | Drill, Drill Bits, and Coolant
Drills apply essential holes for screws. However, not only will you need a drill, but you’ll also need drill bits. Drill bits create precise holes and prevent material damage. However, it’s best to have coolant to improve drill bit performance and maximize utilization. Treating bits with a coolant reduces heat buildup, prolonging their lifespan and ensuring optimal results.
4 | Sandpaper
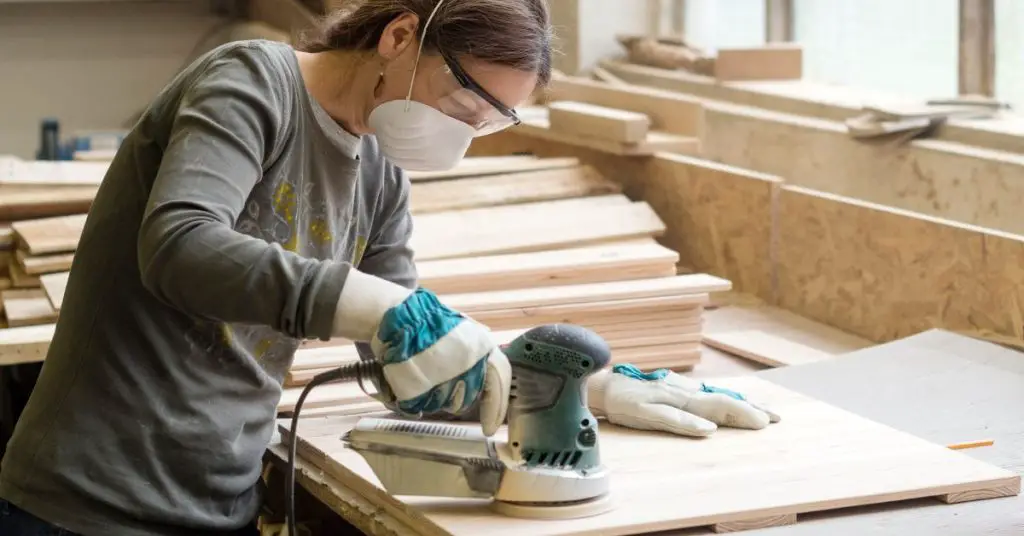
Raw lumber is not smooth. So rub it out with sandpaper or use a power sander. These tools buff out rough edges and give the project a smoother surface for finish or paint. Pay attention to your grit level, as each serves a different purpose.
5 | Clamps
Clamps are an extra set of hands, holding pieces together as glue bonds them or while you steady materials during drilling. Bar clamps and C-clamps cover most needs, ensuring your pieces align perfectly.
6 | Safety Gear
No project comes without risks. Make sure to have safety goggles for flying debris and a dust mask for air particles. Earmuffs or earplugs are also helpful for reducing dangerous noise exposure.
7 | Detailing Tools
A chisel, mallet, and file are all tools that can refine the features of your project. After the initial carving, a file smooths rough edges and corrects minor imperfections the mallet or chisel created. These tools are the right combination to achieve a professional appearance that leaves a lasting impression.
8 | Paint and Finish
Paint and finishes are next after sanding a project and correcting small details. Paint or finish adds color and character to creations. Apply it with a paintbrush or roller and watch your wooden structure transform into a vibrant masterpiece.

As long as you know what tools to use for DIY carpentry projects, you can accomplish any challenge that gets in the way of your creation process. Get ready to reinvent your space with a DIY carpentry project!
Designer Tip: When It Might Be Time to Bring in Help
If you’re working on your home and things still don’t feel quite right, you’re not alone. Many of our clients start exactly where you are now. They’ve gathered ideas, saved inspiration photos, and maybe even purchased a few pieces, but the space still doesn’t feel cohesive. That’s often the moment when having a designer can make all the difference. We help homeowners create a clear plan so every decision works together. From layout and furniture placement to finishes and lighting, the goal is a space that feels thoughtful, comfortable, and complete.
If you’d like a little guidance with your space, you can learn more about our interior design services below.
Explore Interior Design Services
Planning a kitchen, living room, or full home project? Start with a quick discovery call to see if we’re a good fit.
Let’s go beyond the design to build something beautiful together!
More Woodworking Tips:
How to Sand Wood for a Smooth Finish
5 Essential Tools For DIY Projects
A Few More Essential Tools For DIY Projects


0 Comments